| Every summer we clean out our freezer and process the uneaten filets from the past year. My favorite preparation is simply salt and salmon. This lends itself to great fish that is ready for sandwiches, dips, and pastas. Here is the UAF publication for a more thorough explanation of the process. |
| ||
Quick Reference Recipe
1 filet yields about 6.5 half-pint jars
1/2 inch for headspace
1/4 teaspoon kosher salt
90 minutes at 10 pounds of pressure after a 10 minute vent
32 half-pint jars fit in one canner
1/2 inch for headspace
1/4 teaspoon kosher salt
90 minutes at 10 pounds of pressure after a 10 minute vent
32 half-pint jars fit in one canner
Step-by-step Process
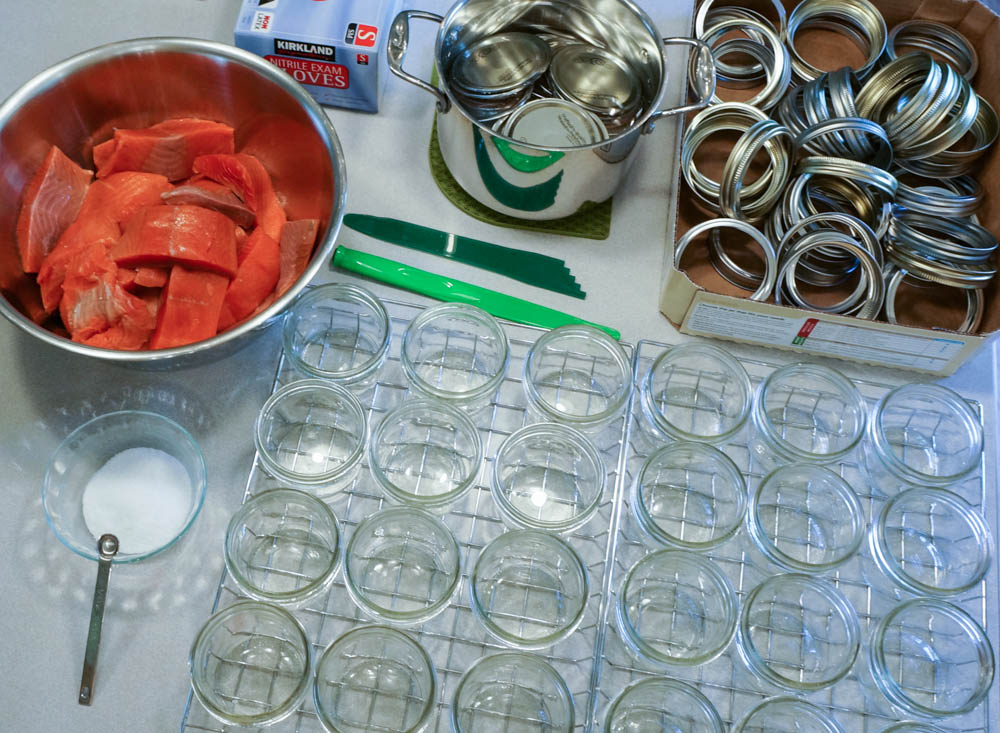
| | 1. Prepare FishSkin salmon and cut into strips that are the nearly as wide as the jar is tall. Leave room for headspace. Apparently, you don't have to skin them; however, we have never tried this. Next time, maybe. |
2. Prepare JarsSterilization is essential from here on out. Our kitchen literally turns into a fish processing plant. Clear all counters to give yourself more room now and less to clean up later. Check the rims and jars for cracks. | 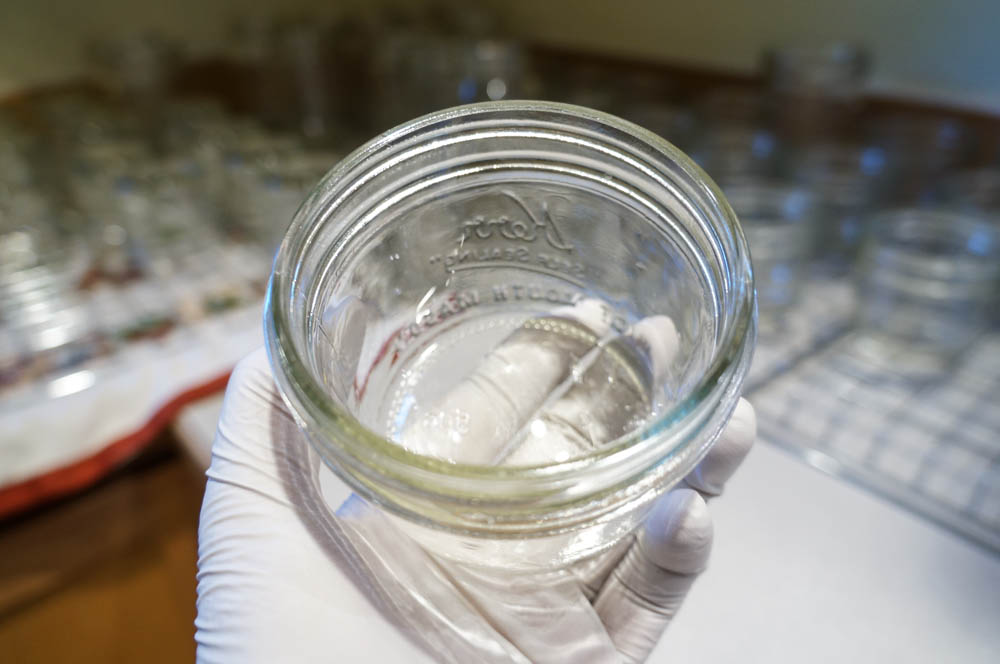
|
| | While we can reuse the jars time and again, we must buy new lids every time. Even though they are from the factory, check the seals to see that they are smooth. Defects in the lids and jars can cause problems during the canning process. It's worth your time. Add the lids to a pot of nearly boiling water. This makes the rubber soft, and sterilizes lids and utensils. Be sure to place the lids seal down in the water. This allows you to pick them up more easily. |
3. Pack JarsThink assembly line when setting up for this part. Pack the jars leaving 1/2 inch of head space for half-pint jars. If we cut them just right, we can pack the jars full with minimal dicing. Cut filler pieces from a filet and pack them tight. 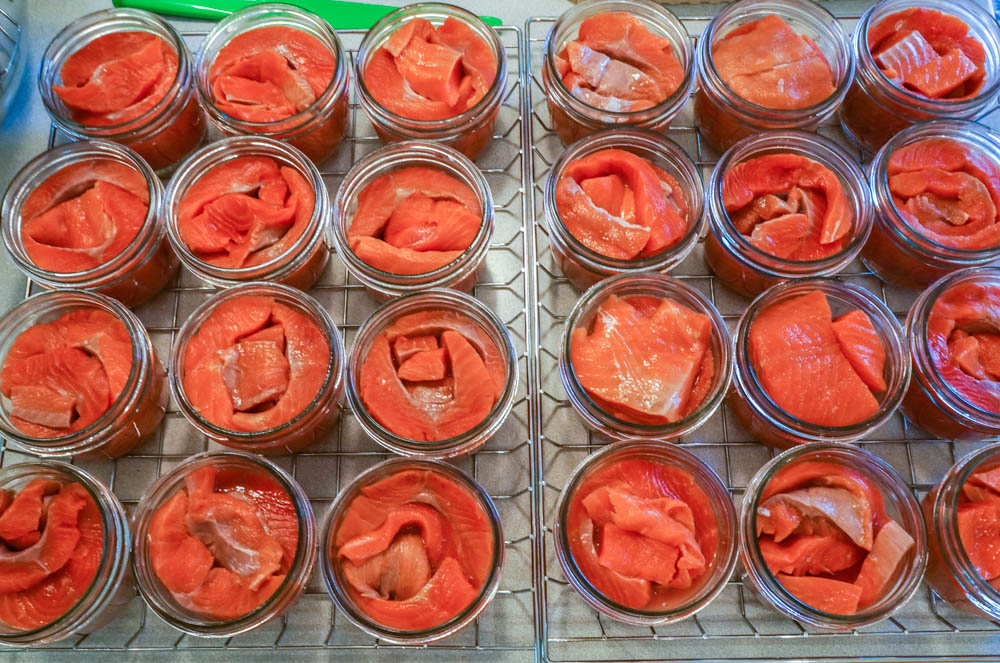
| 
Add 1/4 tsp of salt to each jar. 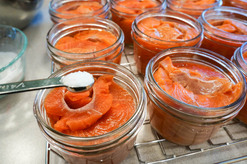
|
4. Prepare for Canning
| With a wet paper towel soaked from the hot water in the pot, wipe the rim of each jar to ensure a good seal. Using a magnetic wand that comes in canning kits, pull the lids out of the water and place on the jars. Screw the ring on just barely tight. The ring is meant to hold the lid in place when the jar contents expand during the canning process, but it needs to be loose enough to allow steam and liquid to release or the jar can explode. 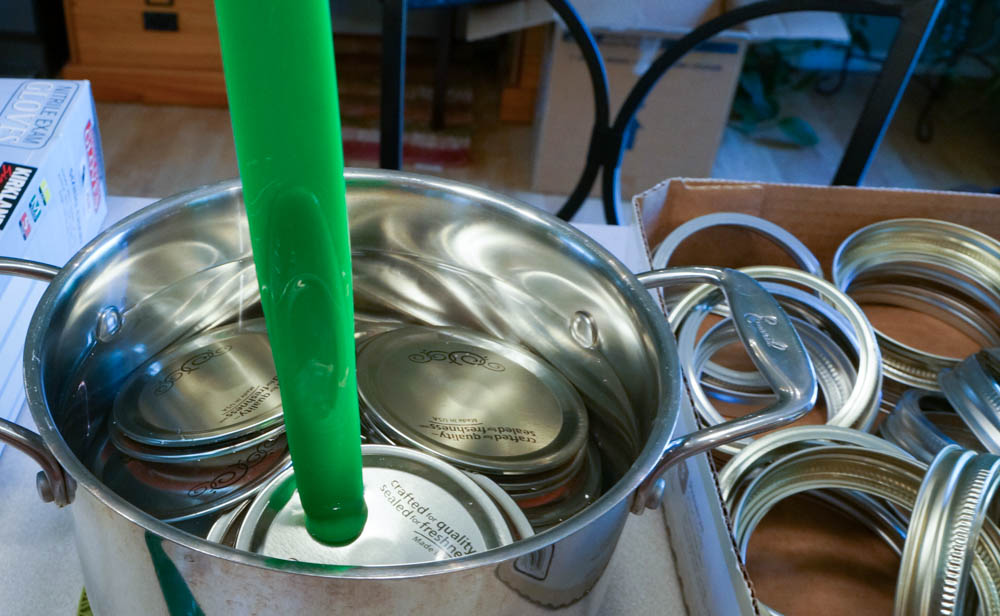
5. Canning | 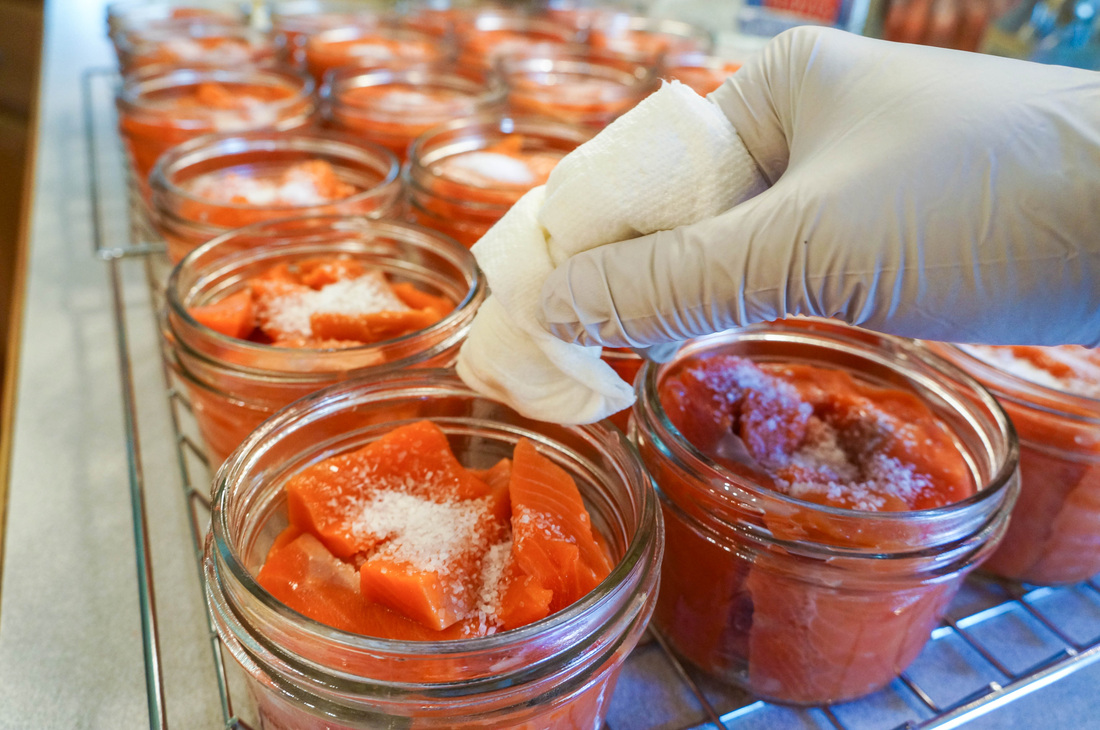
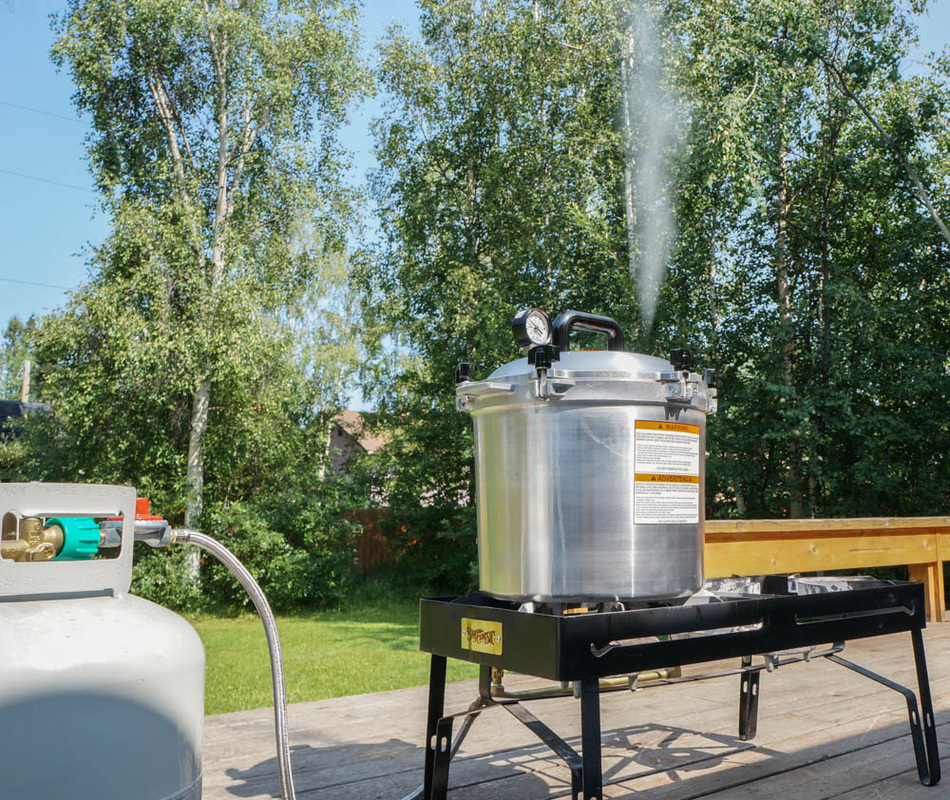
We can outside on our back deck when the weather is good because I don't love the smell of boiled salmon, which hangs around the kitchen for a while after canning. 
Load the canner with water halfway up the first layer of jars. Stack the jars exactly on top of each other. |
| Place the lid on the canner. Tightening it like lug nuts to get the lid evenly and snuggly screwed on. Check to see that the gap between the canner and the lid is equal all the way around. Turn on the flames. Once a steady stream of steam establishes itself, the canner is venting. Vent the canner for ten full minutes. After ten minutes, place a ten pound weight (dependent on elevation) on the vent and adjust the heat so that the weight rattles every 60 seconds. Set the timer for 90 minutes. 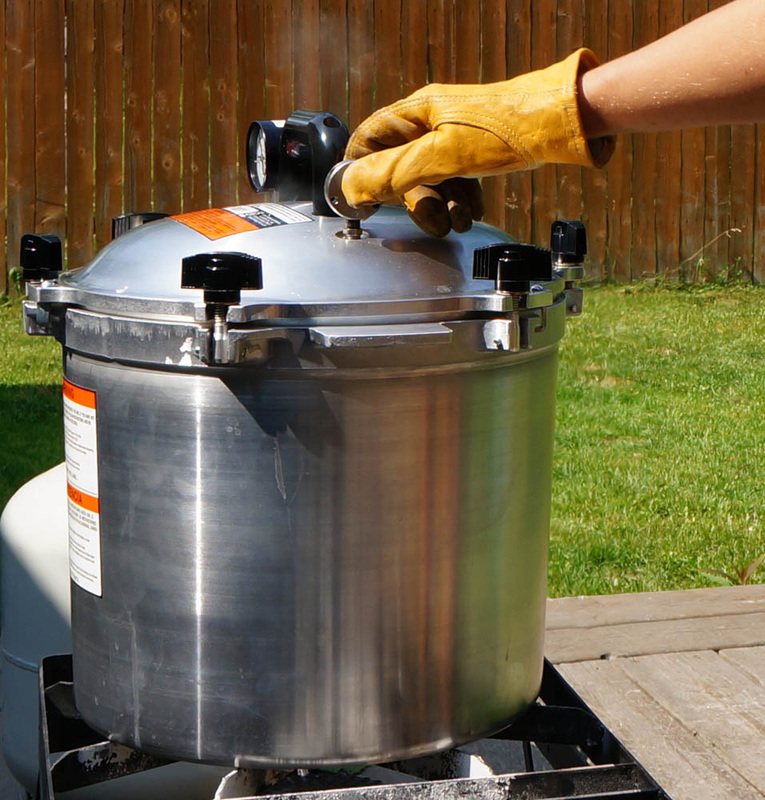
As the jars cool, they seal to the sound of the lid making a popping noise. It is the single most rewarding step (aside from eating the fish) in this process. Wipe down the lids before they dry. 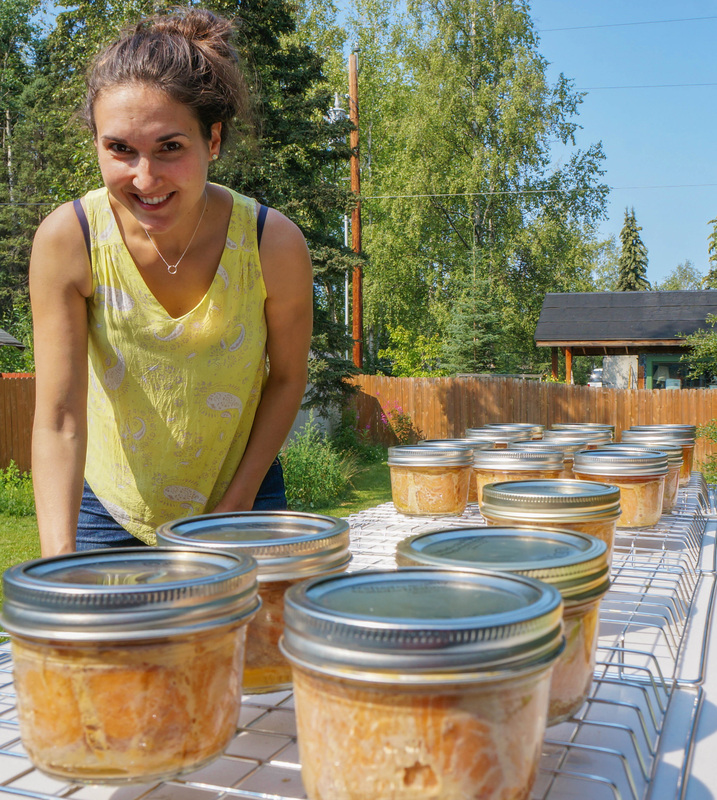
Erika and her canned fish
| 
6. Remove from CannerLet the pressure release naturally, waiting for the pressure dial to read zero before opening the lid carefully. Extract the molten jars and place them on a rack. Sometimes we find that jars cracked/exploded, no big deal. We just save the jars that make it. 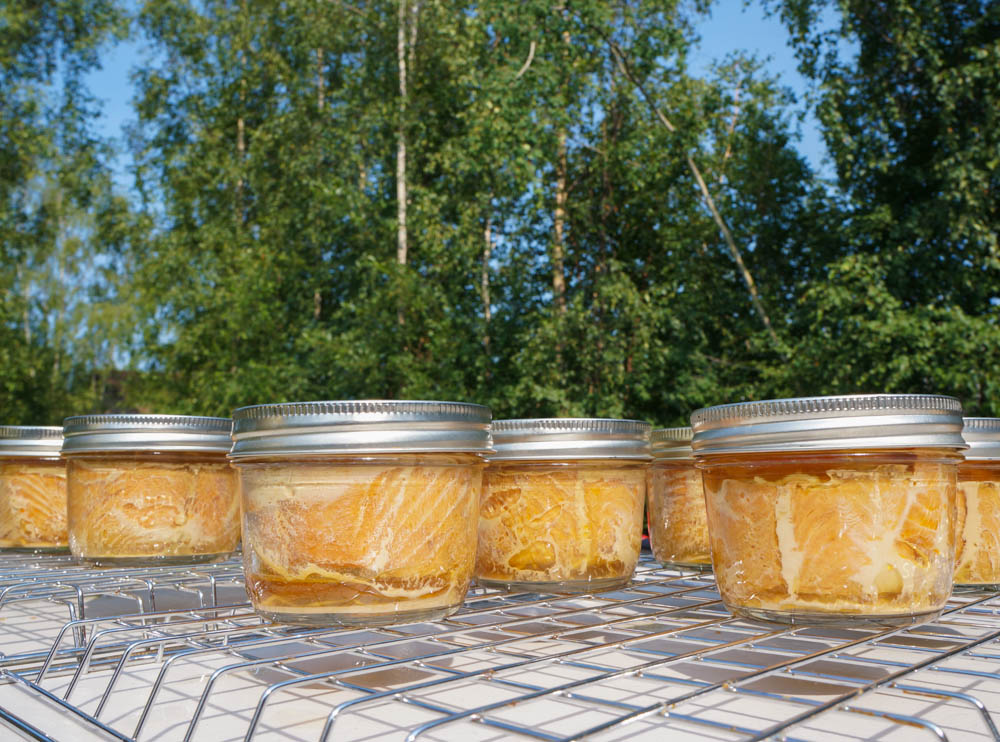
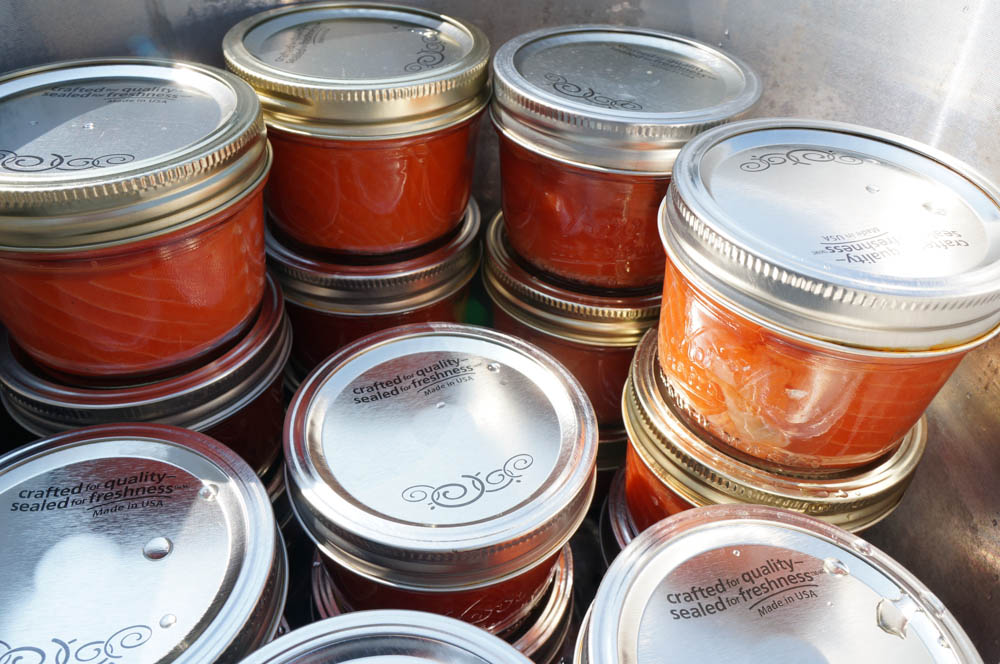
The canned salmon will be good for a long time. Always inspect the jars before eating. Bulging lids, strange smells and colors, or cracked jars make the salmon inedible. When in doubt, throw it out. I have three recipes that I love to cook with this canned salmon.
|