Alaska Good Life
  • The Good
  • The Food
    • The Brew
  • About

Pasta Puttanesca with Canned Salmon

8/31/2014

1 Comment

 
This recipe comes from Kathy's kitchen. We have adapted it from the original Martha Stewart recipe. It makes for a great weeknight, very fast meal.

Ingredients

  • 8 oz whole wheat spaghetti noodles, cooked al dente 
  • 3 tbls olive oil
  • 6 cloves of garlic, minced
  • 1/2 tsp red-pepper flakes
  • 10 anchovies, crushed
  • Two 14.5 oz cans diced tomatoes
  • 3 tbls capers
  • 1/2 cup kalamata olives, chopped
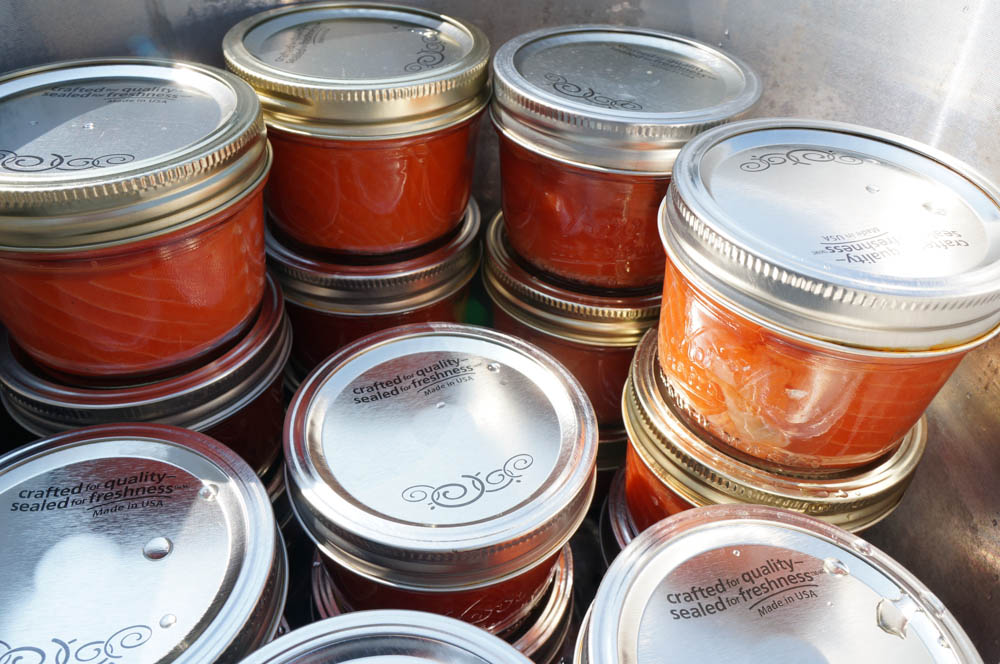
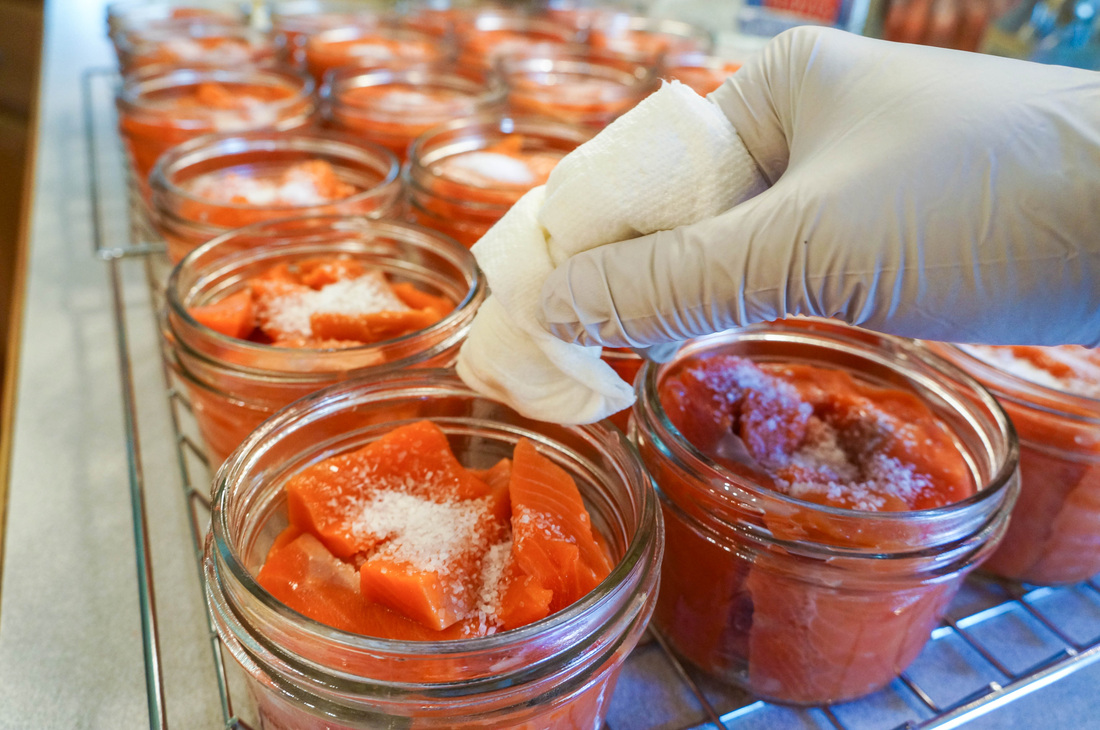
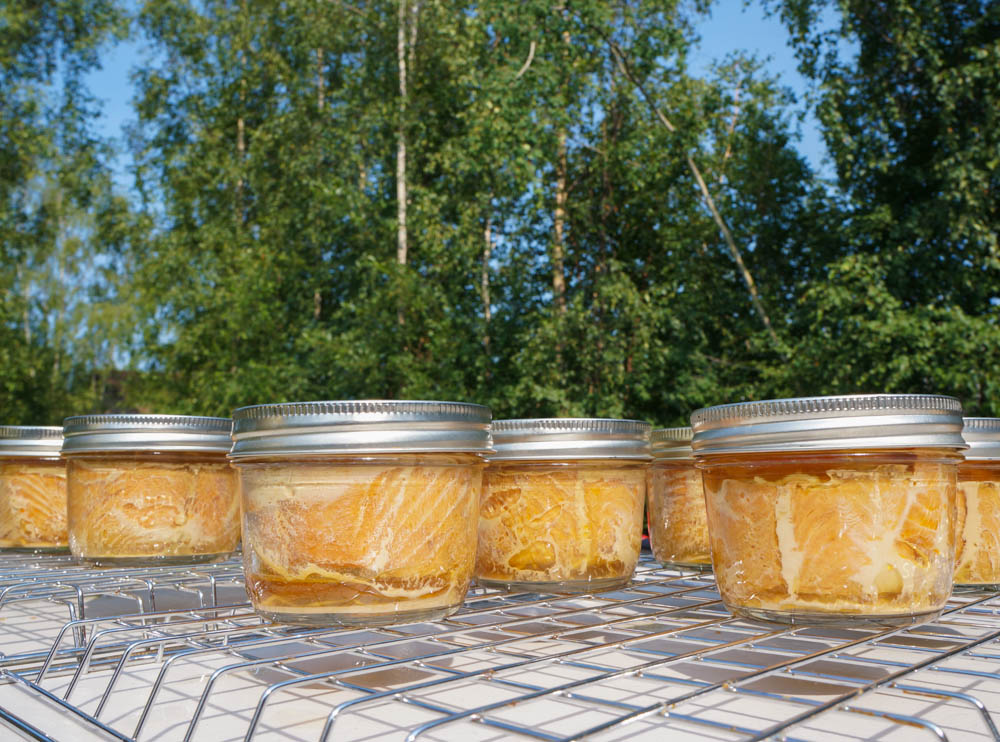
  • 1 jar of salmon, drained

Instructions

Cook pasta in boiling, salted water until it's almost done; drain. We finish cooking it in the pasta sauce. While the pasta is cooking, heat the olive oil in a large skillet and cook the garlic, red-pepper flakes, and anchovies for 1-2 minutes. Add tomatoes, tomato juice, capers, olives, and salmon. Lower heat to simmer and cook, until slightly thickened, about 5 minutes. Stir the pasta into the sauce and finish cooking, 2 minutes. Serve and enjoy. 
1 Comment

Adam's Salmon Dip

8/31/2014

2 Comments

 
This is my favorite salmon dip. It makes great a brewing snack. Sometimes we eat it with a salad for dinner. Like a good dinner party, it's fantastic after the ingredients mingle for a few hours. 

Ingredients

  • Four half-pint jars of salmon
  • Grate a medium onion using a box grater
  • 3-4 dill pickles, grated
  • 1/3 cup mayo
  • 1/3 cup yellow mustard
  • 2 tsp liquid smoke
  • Dried dill
  • Cayenne pepper
  • Black pepper

Instructions

Drain the liquid from 3 of the 4 cans of salmon. 
Drain half of the liquid from the grated onion.
Mix ingredients from salmon to liquid smoke together. Add dill, cayenne, and pepper to taste. 

Take the dip to the 
                       next level, 
                                and make a tuna melt:

Sough dough bread
Broccoli or spiced clover sprouts
Tomato
Cheddar cheese
Salmon dip

Cook this in a skillet as if you were making a grilled cheese sandwich. It's good. 
2 Comments

Canning Salmon

8/31/2014

3 Comments

 
Every summer we clean out our freezer and process the uneaten filets from the past year. My favorite preparation is simply salt and salmon. This lends itself to great fish that is ready for sandwiches, dips, and pastas. 

Here is the UAF publication for a more thorough explanation of the process. 
UAF Publication
File Size: 725 kb
File Type: pdf
Download File

Quick Reference Recipe

1 filet yields about 6.5 half-pint jars
1/2 inch for headspace
1/4 teaspoon kosher salt
90 minutes at 10 pounds of pressure after a 10 minute vent
32 half-pint jars fit in one canner

Step-by-step Process

1. Prepare Fish

Skin salmon and cut into strips that are the nearly as wide as the jar is tall. Leave room for headspace. 


Apparently, you don't have to skin them; however, we have never tried this. Next time, maybe. 

2. Prepare Jars

Sterilization is essential from here on out. Our kitchen literally turns into a fish processing plant. Clear all counters to give yourself more room now and less to clean up later. 


Check the rims and jars for cracks. 
Picture


While we can reuse the jars time and again, we must buy new lids every time. Even though they are from the factory, check the seals to see that they are smooth. Defects in the lids and jars can cause problems during the canning process. It's worth your time. 

Add the lids to a pot of nearly boiling water. This makes the rubber soft, and sterilizes lids and utensils. Be sure to place the lids seal down in the water. This allows you to pick them up more easily.  

3. Pack Jars

Think assembly line when setting up for this part. 

Pack the jars leaving 1/2 inch of head space for half-pint jars. 

If we cut them just right, we can pack the jars full with minimal dicing. Cut filler pieces from a filet and pack them tight. 
Picture
Picture
Add 1/4 tsp of salt to each jar. 
Picture

4. Prepare for Canning

With a wet paper towel soaked from the hot water in the pot, wipe the rim of each jar to ensure a good seal. 

Using a magnetic wand that comes in canning kits, pull the lids out of the water and place on the jars. Screw the ring on just barely tight. 

The ring is meant to hold the lid in place when the jar contents expand during the canning process, but it needs to be loose enough to allow steam and liquid to release or the jar can explode. 
Picture
Picture

5. Canning

Picture
We can outside on our back deck when the weather is good because I don't love the smell of boiled salmon, which hangs around the kitchen for a while after canning. 
Picture
Load the canner with water halfway up the first layer of jars. Stack the jars exactly on top of each other. 
Place the lid on the canner. Tightening it like lug nuts to get the lid evenly and snuggly screwed on. Check to see that the gap between the canner and the lid is equal all the way around. Turn on the flames.

Once a steady stream of steam establishes itself, the canner is venting. Vent the canner for ten full minutes. 

After ten minutes, place a ten pound weight (dependent on elevation) on the vent and adjust the heat so that the weight rattles every 60 seconds. 

Set the timer for 90 minutes. 
Picture
As the jars cool, they seal to the sound of the lid making a popping noise. It is the single most rewarding step (aside from eating the fish) in this process. Wipe down the lids before they dry.
Picture
Erika and her canned fish
Picture

6. Remove from Canner

Let the pressure release naturally, waiting for the pressure dial to read zero before opening the lid carefully. Extract the molten jars and place them on a rack. Sometimes we find that jars cracked/exploded, no big deal. We just save the jars that make it.
Picture
The canned salmon will be good for a long time. Always inspect the jars before eating. Bulging lids, strange smells and colors, or cracked jars make the salmon inedible. When in doubt, throw it out. 

I have three recipes that I love to cook with this canned salmon.

  • Salmon Salad Sandwiches
  • Salmon Dip
  • Pasta Puttanesca
3 Comments

Salmon Sausage and Beef Jerky

10/12/2013

3 Comments

 
Dabbling our way into charcuterie, we decided to whip up some salmon sausage and beef jerky this Saturday evening. 

How the sausage is made (disclaimer)

As the idiom warns, you may be wary of this post. You view this at your own risk. It is October, and the tone is getting dark. 


Preparation 

First of all, one must have libations. Kings Street has canned their IPA, and it is terrific. 
Picture
Equipment and ingredients
Picture
Picture
21mm collagen casings
Debone, skin, and cube salmon
Picture
Picture


Soon all of these ingredients will be combined.You may want to look away for the rest of this post. 
Picture


Seasoning Recipe

3 lbs Salmon
1 1/2 tbls salt
3 1/2 tbls smoked paprika
2 tsp garlic granules
1 tsp anise seeds
3 tsp ground black pepper
3/4 tsp cayenne 
1/2 tsp Insta-cure #1
Picture
Picture


Making the sausage

Since Adam broke our Kitchen Aid two years ago, we still haven't gotten a new one. Kathy's stand mixer will never be the same. Here is a before and after photo:

By the way, dinner is cooking in the background here. We picked up a porterhouse and let is sous vide during our charcuterie adventures. 
Picture
Picture
More implements of destruction...and reconstruction
These are dark times...
Picture
Picture


3 lbs of salmon yielded 
33 sausage links. 


Smoke and poach

We smoked the salmon sausage for 2 1/2 hours with alder. Then, we moved them to a water bath poach at 185 degrees for 11 minutes. Finally, we vacuum sealed and froze them for preservation. 
Picture


Oh, this post is about beef jerky too. . . 

As tested by Heather and Joe, we are using the Salmon Jerky brine to make beef jerky from 11 lbs of London Broil. 
Picture

Dinner

Sous vide

+

Hot grill


=


Yum
3 Comments

Salmon Jerky

7/14/2013

2 Comments

 
Picture


It takes us about two days to make salmon jerky for the year. The result is a slightly sweet, salty, dry, and smoky jerky. 


1. 


Pull pin bones and cut into strips.
Picture
Picture

2.


Make brine mixture: 8 parts (by weight) dark brown sugar to 3 parts kosher salt. 


For five fish we used 20 pounds of brown sugar and 7.5 pounds of salt. 
Picture

3.


Let fish sit on brine for a minimum of 12 hours. 17-24 hours is better. The fish needs to be stirred every few hours; add more brine as needed. 
Picture
Picture


Almost immediately, the brine draws moisture out of the salmon. After 12 hours, the brown sugar/salt mixture turns into a syrupy mess. 
Picture
Picture
Picture
Picture


4.


Once the salmon is translucent and firm, it's ready to be rinsed, peppered, and smoked. 
Picture

5.


6.


We dry the fish out in two phases. First cold smoke the fish using Alder chips for 10-12 hours. Then, air dry by running a fan at 120 degrees for 10 more hours. 


Vacuum seal, freeze, and enjoy!
Picture
Picture
2 Comments
    Picture
    Picture

    Archives

    November 2019
    September 2019
    January 2019
    October 2018
    October 2017
    July 2017
    November 2016
    September 2016
    June 2016
    November 2015
    October 2015
    June 2015
    November 2014
    August 2014
    March 2014
    December 2013
    October 2013
    August 2013
    July 2013
    June 2013
    March 2013
    February 2013

    Categories

    All
    Barbecue
    Cajon/Creole
    Canning
    Charcuterie
    Cocktail
    Dinner
    Fermentation
    Salmon
    Smoking

Proudly powered by Weebly